
Sometimes things don’t always go as planned, but that doesn’t mean the pictures you end up with are not worth keeping.
Recently I went out on two different days with hope to take some breathtaking sunset photography.
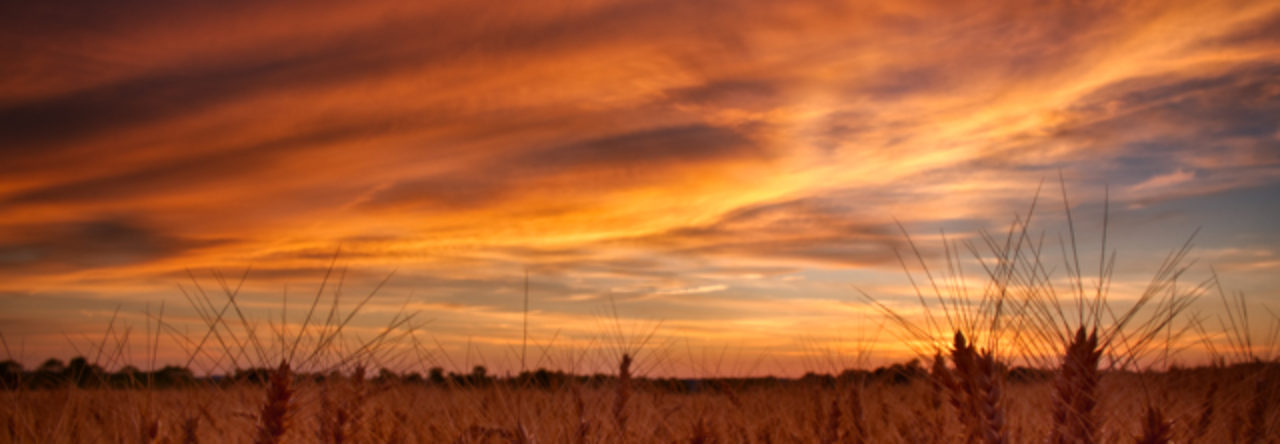
On the first trip, I just wanted to get the sunset on a recently cut farmers field. This turned out to be a dud as far as my plans went. First, the sunset did not look like it was going to be that great so I didn’t head out to the location. About 10 mins after I had planned on leaving, the sun broke through the clouds and the start of a spectacular sunset was on its way.
I got into the car and rush to the location I was thinking about. Even though it was only a few miles from where I was, by the time I got there and got my camera equipment setup, the best part of the sunset had gone. I was bummed, but I was still determined to get some photos while I was there so it would not be a wasted trip.
I looked around and saw that the farmer’s combine was parked nearby and that the cab’s window was facing in the direction of what was left of the sunset. I immediately ran over and set up my tripod and started taking pictures. I usually try to do HDR photo’s which require taking a series of shots at different exposures which get combined later on my computer with Aurora HDR Pro to produce the final picture.
Here is one of the pictures I ended up capturing. It was not the red sky and the farm field that I had planned on, but I made the best of what was available to me.
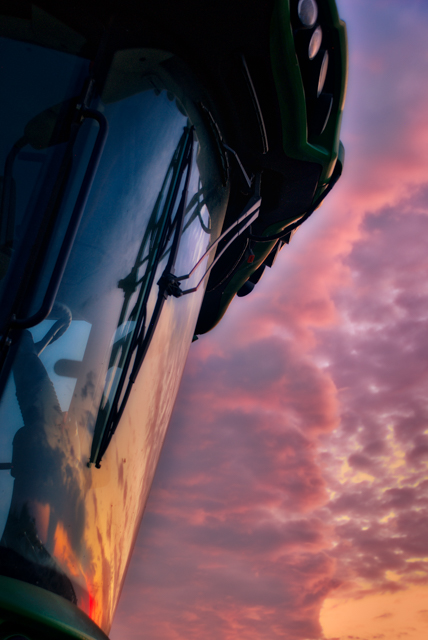
This shot was a result of the HDR process by combining the 3 shots shot at -2,0,+2 exposures and using Aurora HDR Pro to process the combined shots into the final you see above.
Now on to another trip where my HDR Process failed me
A few days later there was another sunset setting up and I made plans to go out and capture a shot I have been meaning to do for some time.
Near my home, there is a section of road that during this time of year it lines up with the setting sun. I’ve always thought it would be a great photo to get the sun setting on the horizon at the end of the stretch of road as makes a turn off in the distance.
This time, I made it to the location I wanted in plenty of time, got all set up with my camera and tripod. I set my camera to what I thought would be the best settings for the shot. I choose settings to slightly overexpose the image as I knew the sun would overpower the amount of light that my camera light meter would see so I knew I had to over compensate for that. I choose to overexpose by only 1 f-stop so as not to loose the darker areas of the photo.
I took a series of photos at my bracketed -2,0,+2 settings with the +1 overexposure. With the overexposure setting the brackets ended up being -1,+1, +3. They all looked good on my tiny cameras LCD screen, but when I got home and loaded them on my computer it was a different story altogether.
I brought one of the bracketed sets in Aurora HDR Pro and tried to do my usual magic that I do with that program, but alas no matter what settings I choose, being either a preset or manual adjustments, nothing could bring out the roadway without and extreme amount of noise. The noise was a result of the images just being too dark by being to under exposed. Even the +3 exposure was still dark. Needless to say, I was a little disappointed as my grand plan for this picture failed.
After looking at some of the single exposure shots I though, what can I do with one of them? Since I shot in RAW format instead of Jpeg, I know each image still contains a lot of the light information, it is one of the advantages of shooting in RAW format. As such, you can still bring in a single image into Aurora HDR Pro and do many of the HDR type adjustments to the image to bring out the light in the dark areas of a single photo. I choose one of the presets as a starting point and then made a few manual adjustments. Next, I created another layer where I choose to darken the shadow areas of the photo. I decided to do this as after brightening up the shadow areas in the first layer, I wasn’t happy with the way that they looked.
Here is the final image I was able to create from the single RAW file.
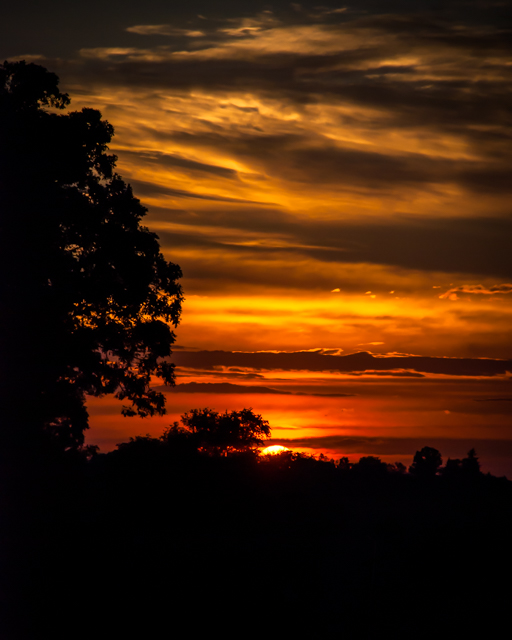
I’m glad I didn’t give up on the images that I took as this one turned out very nice. Yes, it doesn’t have the road leading up to the sun in the picture like I had envisioned, but it still turns out to be a great sunset picture.
Now I just have to go back again on another day and learn from my mistakes and overexpose more to compensate for the bright sunlight. The only problem is I’m going to have to wait until next year as the sun is only in the right position during the summer solstice week and I was already at the end of the week when I took this photo.
In summary.
Just because your photo shoot didn’t go as planned, do give up on your images. If you get to the location of your photo shoot and things aren’t as you expected, take a look around and see what is there and figure out what else you can capture with your camera. For those situations where the images didn’t come out as you expected, don’t give up on those either. Take a good look at what you did take and use the power of the software you have to see if you can create something different and exciting from what you do have as I did in my last example
Most important of all, just get out there and shoot. The only way to get images that you may like and can edit into an emotional or powerful image it to take it first.
