


Have been given the opportunity to review Mass Water Mark for Mac and Windows OS. Disclosures: I have been given access to the software, but other than that I have no affiliation with the software vendor.
I’m not one to usually watermark my images and I will not get into that debate here as to why or why you wouldn’t want to watermark your images. But for those that do and need an application to watermark your images, this may be your solution, especially if you are a Windows user.
Features and notes on each platform version
The features vary between the Mac OS and Windows versions at the moment with the Windows version having the full feature set.
Windows Features
- Add Text or Image Watermark to a collection of Images
- Batch Resize Images to meet Web standards
- Retouch your Images before Watermarking with Image Optimizer
- Create your own Branding Watermark with Custom Text and Custom Logo
- Image Optimization – Adjusting Contrast,Brightness etc
- Direct upload to Picasa or Flicker
- Add EXIF information
- Watermark Designer built-in
- Crop/Rotate/Resize the
image and the image for a watermark - Create a Zip file.
- Improve Image Quality by applying effects like Mean Removal,Sharpening Etc
- Can export the watermarked image
as jpeg , png,bmp , gif, or tiff. It does have an option for the original format if you want to keep it the same as the imported image.
The windows version of this app is full-featured app for creating watermarked images as well as a way to mass resize images. It can import jpeg, png,
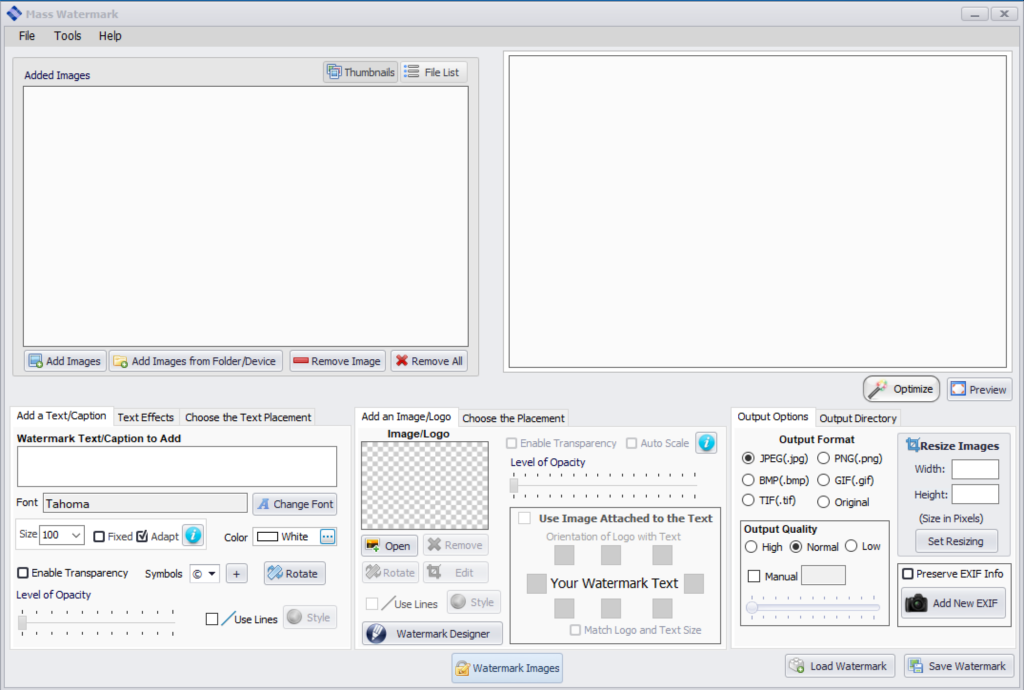
Below is the Mass Watermark interface. You have quick access to all the features in this one interface. The top left is where you import the images to be watermarked, the top right shows a preview of the selected image with the watermark. The bottom half is where you enter your text, image logo, and choose your various options
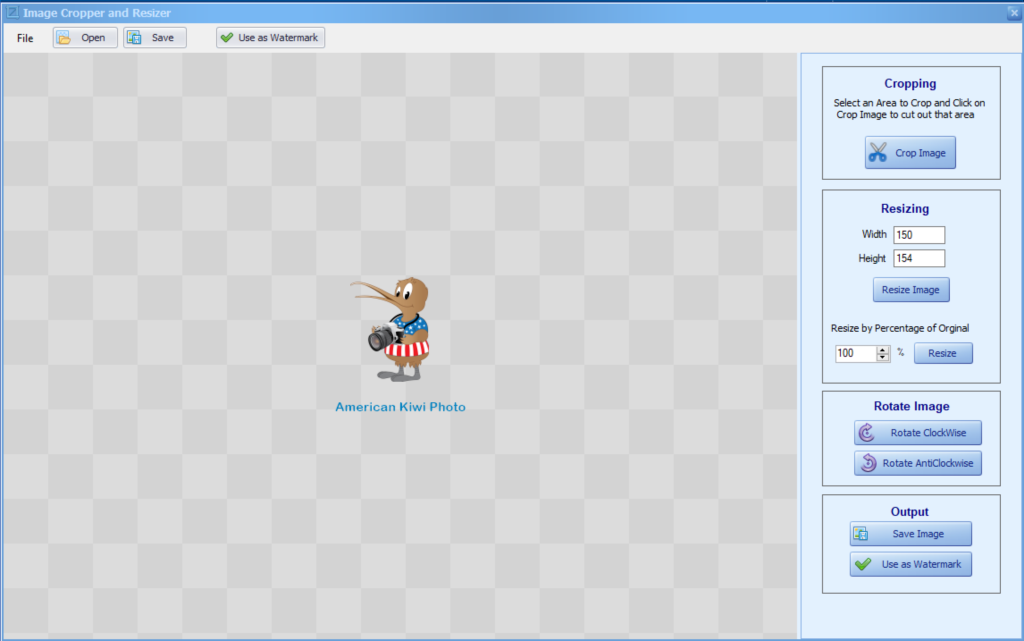
Below is the Watermark Designer
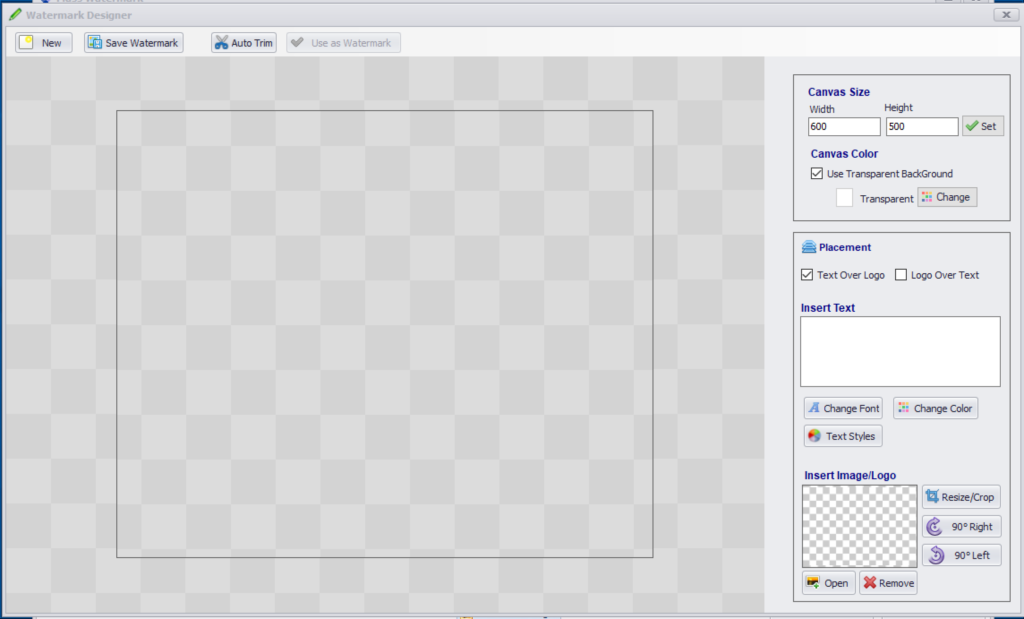
Since my logo is usually a large format image I needed to scale it down and the Watermark Designer handled this very easily.
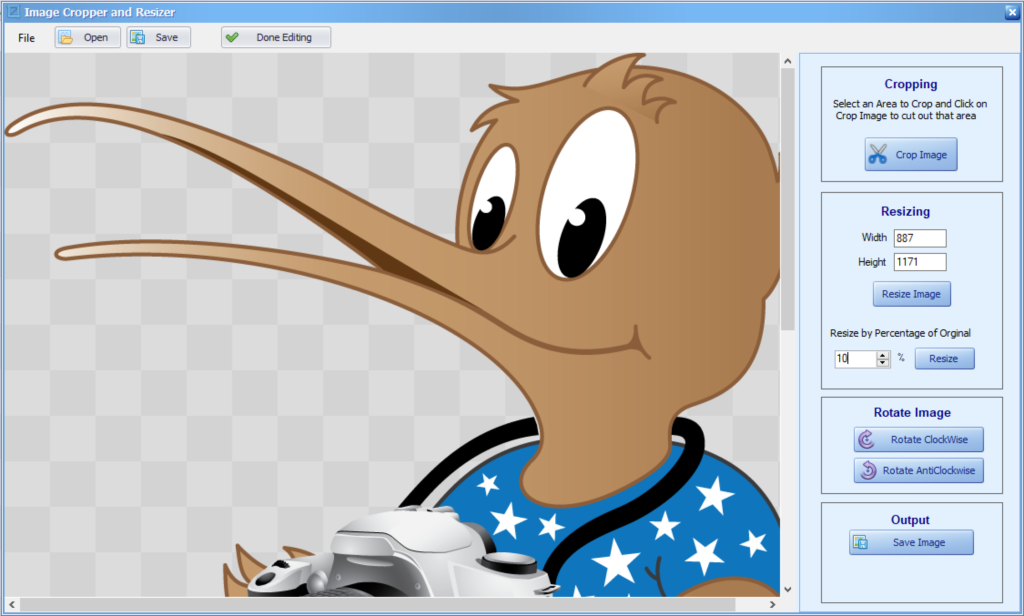
Logo before scaling 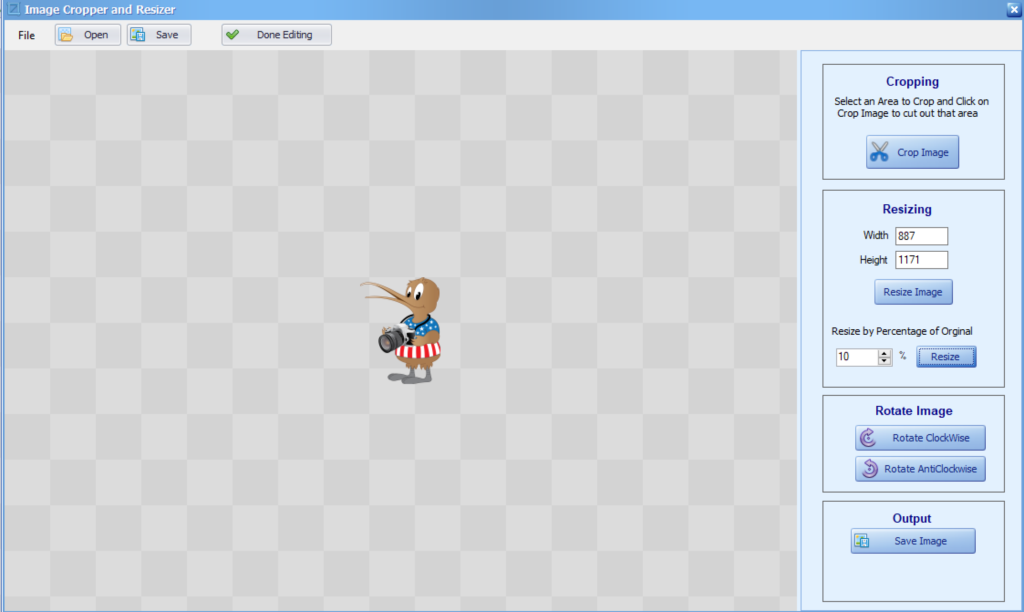
Logo after scaling
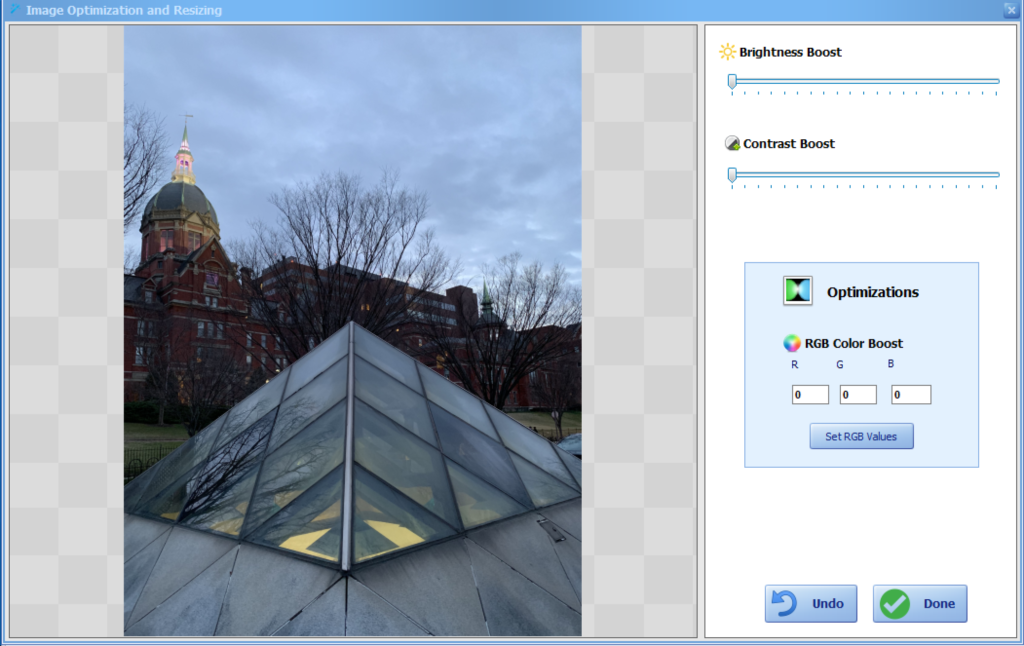
Another option under the top right section is the ability to do a quick optimization of the image. Below shows the basic editing options you can do with this app when you click Optimize.
Now that I’ve created my watermark with the Watermark Designer I have brought it into Mass Watermark and showing a preview of a watermark on which I added text and a logo. It is showing large and not transparent for easier viewing as an example.
Watermark Designer to create a custom watermark with a logo and customized text. I did save it for future use, but if you click the use as watermark and you will be sent back to the Mass Watermark interface and see it as a preview of one of your current images. If you choose to save it, to use it in future watermarking, you would choose the save image in the open image logo section to bring it back in. Here is an example of a custom watermark created with the WaterMark Designer.
Now in this is the interface showing the custom watermark that I created above with the Watermark Designer. Once it is in the Mass Watermark app and you want to move its location, you can double-click on the preview and it will present you with another window where you can click and manually move the watermark’s location. You could also use the logo positioning options to autosize the image, make it transparent, and choose a position. Keep in mind that the location applies to all the images you export. So take that into consideration when you position it and when you are creating it. For example, in my sample images, if I had chosen the black text for my solar eclipses images you would not see the text.
Once you have set all your options and positioned your watermark, just click the WaterMark Images button. You will be prompted on where you would like to save the watermarked images via a standard windows dialog box. Selection your location (I recommend creating a new folder) and away the program goes rendering your watermarked images. Below I show one of my images with a custom watermark. Again, I left it large and none transparent for easier viewing as I would make the watermark smaller and transparent as not to take away from the image.

One note: as in my example above I have the solar eclipse image as both a jpg and tiff image in the import folder, the program is smart enough too realize that this is the same image and when applying the watermark and saving the resulting images, it only saved one version of this image. This can come in handy if you have a folder of images that you are bringing and you didn’t realize you have multiple formats of the same image
The Windows version of Mass Watermark is a
Mac Features
- Add Text or Image Watermark to a collection of Images
- Batch Resize Images
- Create your own Branding Watermark with Custom Text and Custom Logo
- Can export the watermarked image as jpeg, png, bmp, gif, or tiff. It does have an option for the original format if you want to keep it the same as the imported image.
The Mac version is missing
It can import jpeg, png, tiff formats. It does not import HEIC format which is one of the formats from your iPhone. You will have to convert it to regular jpeg first.
The interface is rather dated and it does have some limitations such as you cannot resize the window to take advantage of your larger screen sizes. This is still version 1.0 and was written in 2015.
I have been testing it under Mac OS 10.14 and it does run. It will open two applications, one is the Mass Watermark app that has the app menus and the other is the interface showing up as MassWatermark. This does make things a little confusing. Shown below are the two dock icons that show for this app and the Mac Interface.
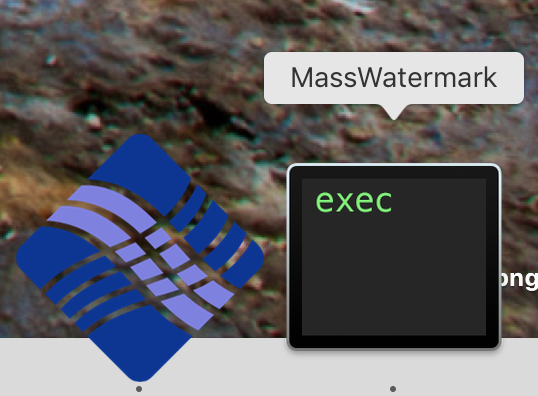
Dock Icons 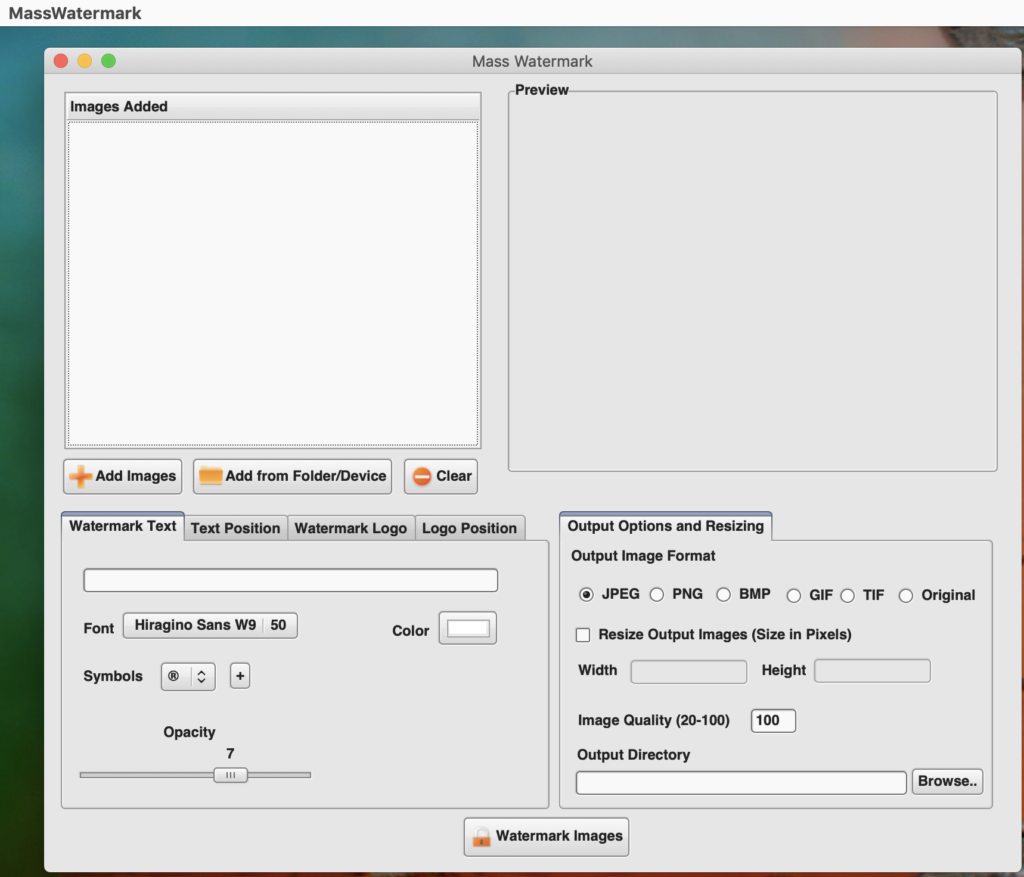
Mac Interface
As with the windows version, you can enter your custom watermark text, change the font and size of the text, choose the placement of the text, select a watermark logo image, and place the position of the logo image.
If you are going to use an image for your watermark, you will have to resize the image outside of Mass Watermark before you bring it into the app. If not, depending upon the size of the image, it may fill the image with your watermark depending upon the resolution of your watermark image and the image you are watermarking.
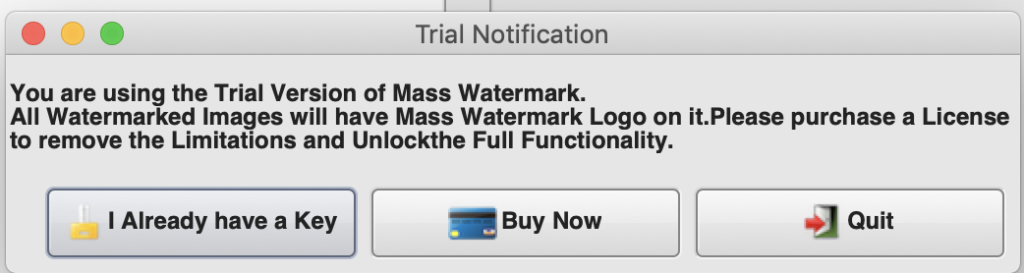
To enter your license key in the Mac version it is not obvious as there is not a menu option, you have to open the app then click the close button on the interface app and you will get prompted with the below dialog where you can enter your license key, buy the app, or quit the application.
On occasion, I have had and issue with some of the menus in the menubar of the application disappearing, but if you quit and reopen the app they come back. This is a 32bit app, so mac OS 10.14 will be the last version that can run this application as with the next version of Mac OS you can only run 64bit applications. I have been informed by the vendor that they have plans to redo of the software and I expect it will get the same features as the Windows version and be compatible with the current Mac OS at that time.
In short, though, I cannot recommend the Mac version as a whole, but if all you want to do is a text or image watermark it may work for you. I would recommend waiting on the new release when it comes out.
There support section has a complete video library on how to use all the features for the Windows Version
Price as of this review is $30