Photography, discounts, reviews, guidence and more
Category: Discounts, Promotions, and Coupon Codes
I work hard to get the best deals I can for my readers.
These posts contain the various discount, promotions, and coupon codes I can offer you. Take note of which offers are limited time offers. Expiration dates/times are listed.
And check back often as I’m starting to be able to get better deals just for my readers that will be posted here.
Disclosure: any post with the hashtag #affiliate means I am an affiliate of that product and as such may receive a small percentage of any purchase. It doesn’t cost you anything, in fact usually saves you something if you purchase from one of my links.
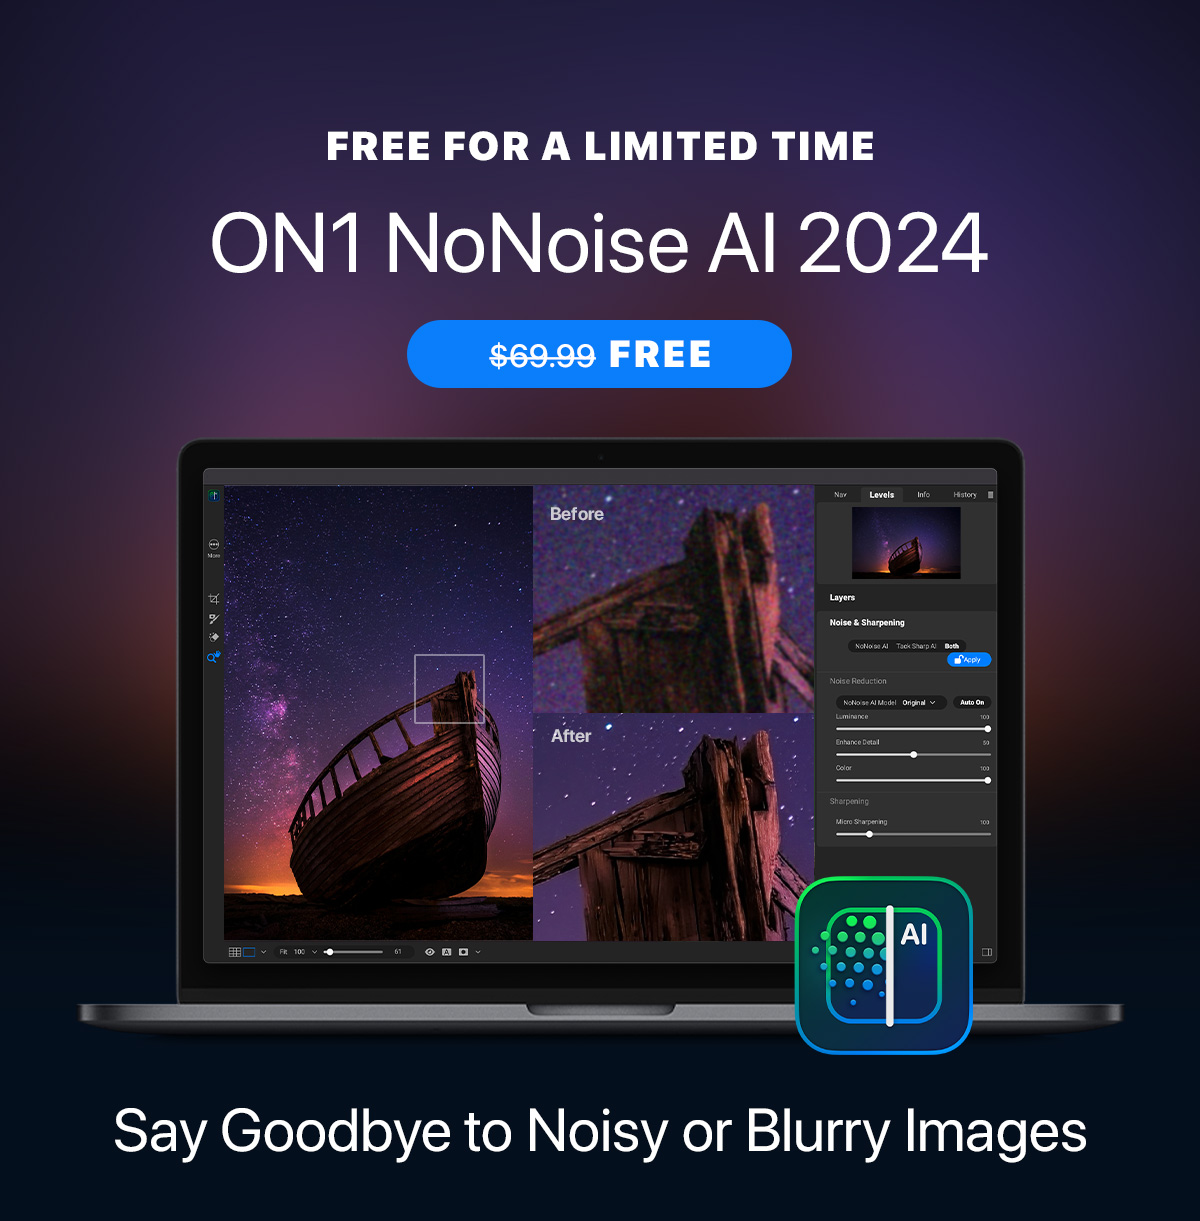
If you have not used On1’s products and wanted to denoise some of your photos. They are offering a limited time download of ON1 No Noise AI 2024 for free. That’s right $0 and you own it for life.
Available until July 31st, 2026
Disclaimer: I may affiliate with a product mentioned on this page. As a result, I may receive some compensation from the vendor. This affiliation does not influence any of my commentary on any product that I may write about, nor does clicking on the affiliate links cost you anything, in fact, you may save some money.
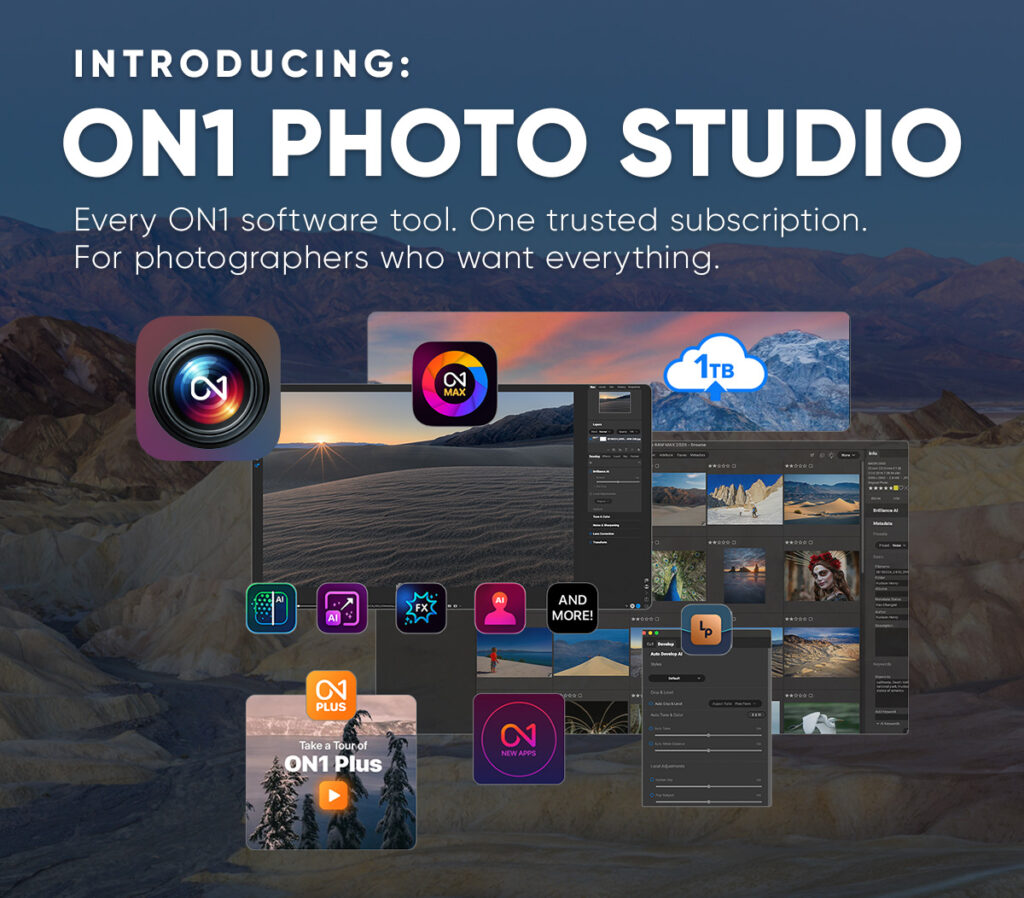
For those that like to have full access to all the On1 product line including AI Features, all apps, and training and keep them up to date, the new On1 Photo Studio subscription is for you.
The plan includes ON1 Photo RAW MAX, all ON1 professional tools and plugins, AI features, cloud sync, ON1 Plus education, and automatic access to future ON1 software releases. It’s designed for photographers who want everything bundled and always up to date.
This is not replacing the existing perpetual licenses you can purchase and is not a seperate application. Just a new Subscription option to access al the On1 Products. This is not a new product, just a new way to excess it all.
Disclaimer: I may affiliate with a product mentioned on this page. As a result, I may receive some compensation from the vendor. This affiliation does not influence any of my commentary on any product that I may write about, nor does clicking on the affiliate links cost you anything, in fact, you may save some money.
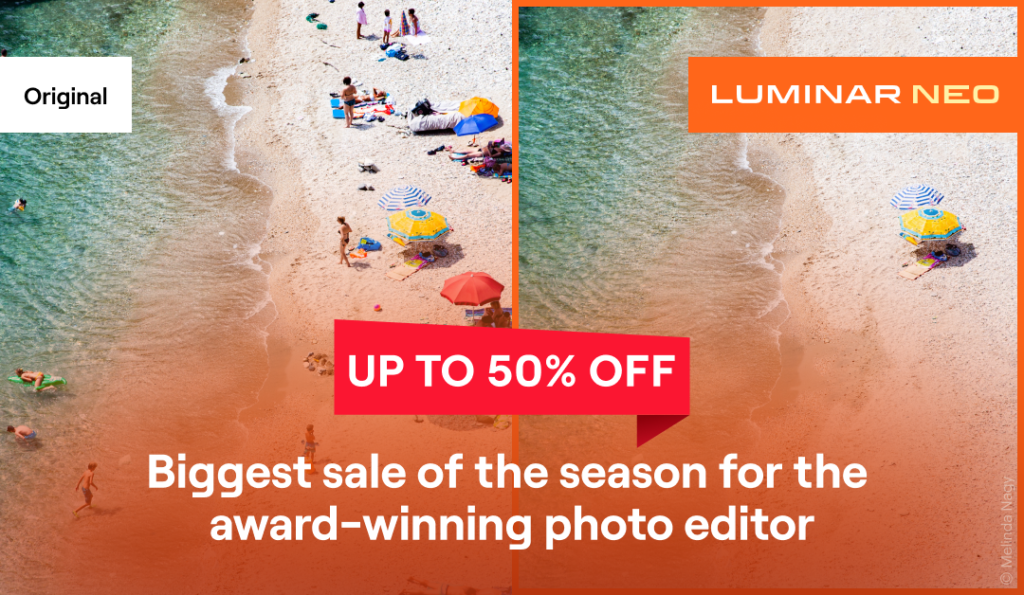
somehow I missed the notice on this so just a quick post now as this offer ends tonight. 6/16/25
Get up to 75% off
Cross-device Subscription (desktop & mobile) – only $99 Includes Luminar Neo desktop + Luminar Mobile + 100 creative add-ons for free + Neo video course worth $79
Luminar Neo Lifetime (desktop only) – only $119 Includes 100 creative add-ons + Neo video course worth $79 + 1 year of Generative AI tools for free
Cross-device Lifetime (desktop & mobile) – only $159 Includes Luminar Neo desktop + Luminar Mobile + 100 creative add-ons + Neo video course worth $79 + 1 year of Generative AI tools for free
Disclaimer: I may affiliate with a product mentioned on this page. As a result, I may receive some compensation from the vendor. This affiliation does not influence any of my commentary on any product that I may write about, nor does clicking on the affiliate links cost you anything, in fact, you may save some money.
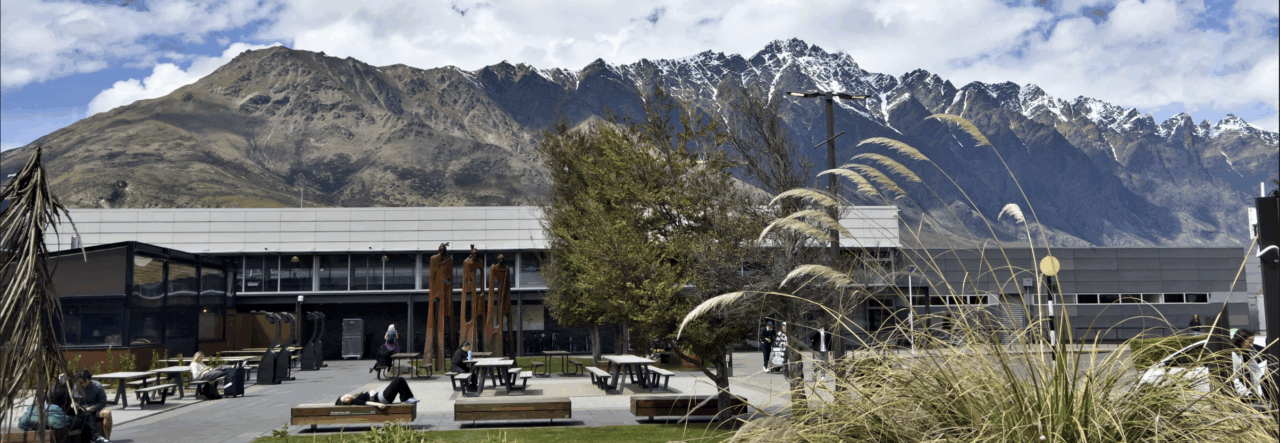
Late last year I took a trip back to New Zealand. I wanted to provide some tips I learned for this trip to help save you some $ and the tools I used to help plan it. This is the first of 4 parts as I wanted to break up a long post. Although this is related to my recent overseas trip, it can apply to any trip that you take.
I knew this would be an expensive month long trip for me, so I started planning it early. More than a year early in this case since I have not taken such a trip in for some time (more than 5 years). So first up…
Furkot – My best tool for planning a trip
I started out with my new favorite tools. Furkot (https://trips.furkot.com/) When you go to the site the sub-header will say road trip planner, but this is way more than just a road trip planner. Yes, you can plan your driving route, but it does let you include your plane flights to get where you are going, helps you find things to do where you are going, and places to stay along the way. You can easily reorder stops and stays and it will recalculate your route. It has many options and I highly recommend checking it out.
When you are done, you will have a map of your trip and an itinerary you can print out. There is a free option for one trip, and the pay version as of this writing is just $14/year, which is a steal in my mind. But if you book your stays via Furkot, you will be eligible for a free pass. See their site for details.
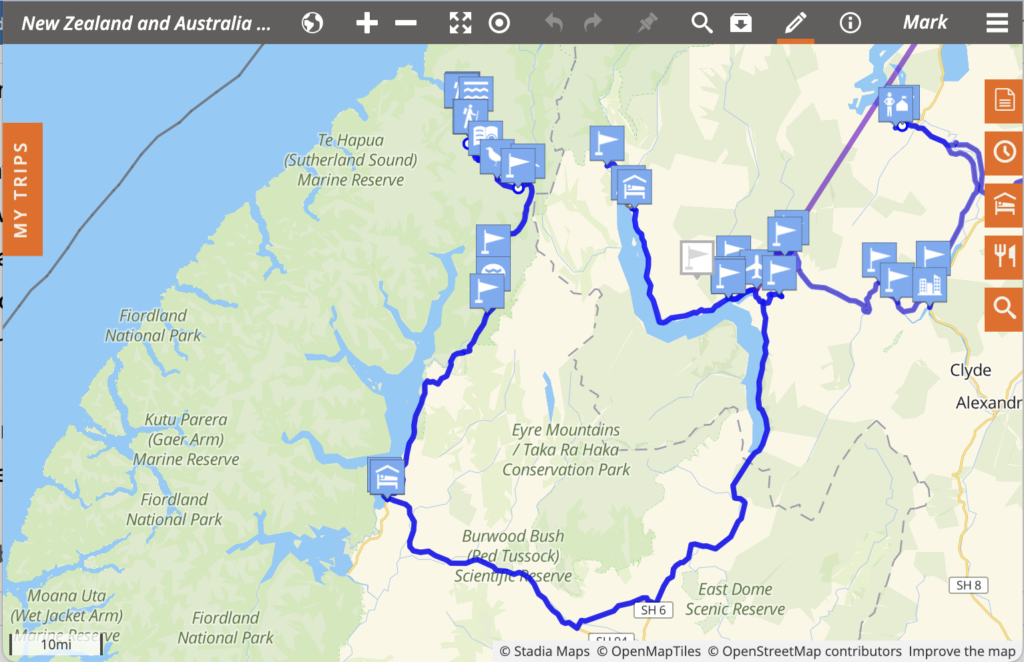
Here is a small portion of my recent trip as shown in Furkot for the South Island of New Zealand
Other features I like are you can plan possible stops. On the map shown above you will see one flag that is in grey. This is a possible stop that I marked maybe for later.
Other icons are for things/activities/or Stays (The house icon) that I had planned.
The other feature that I found very helpful is you can define your start and ends times on days and how far you are willing to drive in one day. By defining those, Furkot will alert you that you need to book another stay if you have traveled too far or there is not enough time to do the things you marked giving your a lotted time slots. It will automatically pick a location where you will should find a place to stay based upon your travel settings. You can then use their Sleep tab to find a place to stay in that area.
I always start out with Furkot to plan the overall trip. Once I have that set. I can start looking for flights, and/or Rental cars, and places to stay in the various locations I marked on Furkot. BTW, if you need to adjust the whole start time, you can go that in Furkot and will readjust your entire itinerary.
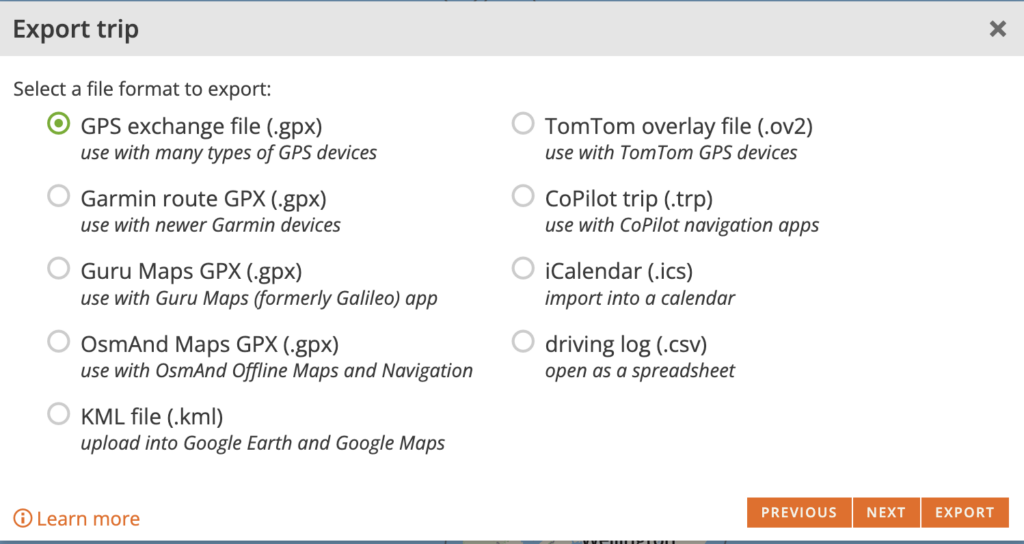
One you have your trip setup, you have many export/print options. You can export a file to have it import into your favorite GPS app and then use your app for navigation.
Other features include the ability to share your trip with others in the Furkot community or you can “publish” your trip to it’s own website and send that URL to others you wish to view your trip. I used this option to let folks know our itinerary for where we were on my latest trip.
On this past trip there were some places and things we wanted to do that we ended up having to miss due to weather. I mention this as I’ve already started planning my next trip. Again starting with Furkot. On my future trip plan Furkot lets you import items from other Furkot trips you have in your library of trip. Via the import option you can select the previous trip and it will show you all the stays/stops/activities etc that you had marked on that trip. While viewing that list you can easily add any or all of those past items to your new trip.
The last thing I do wish to mention is if you get stuck using Furkot, do reach out to their support team after reviewing the excellent documentation. They are very helpful.
This is just few of the features in Furkot and I would highly recommend checking it out for your next trip planning.
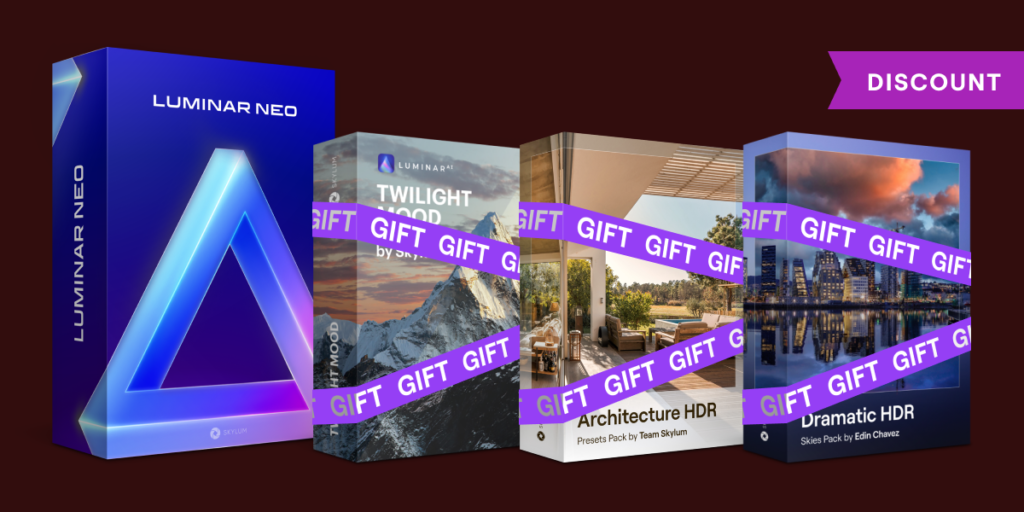
Occasionally Skylum gives us affliates a special offer for our readers. This is one of those times. This is not an offer you will see in the wild. It is only available via affiliates that have been given the special pricing link.
you can activate Luminar and your extensions on up to 3 computers. So you can have it on your desktop at home and on your laptop when out an about.
You do have the option to make a one-time purchase to get that version and extension versions for a lifetime. (No upgrades) at a significant discount as well. The lifetime license is for one device. And a 1-year generative AI Access with a lifetime license purchase.
There is a 30-day money-back guarantee, so what do you have to lose? If you have been thinking about getting Luminar Neo, now is the time.
As always, do try my Luminar Neo Coupon Code of MARKDODD for possible additional discounts.
Disclaimer: I may affiliate with a product mentioned on this page. As a result, I may receive some compensation from the vendor. This affiliation does not influence any of my commentary on any product that I may write about, nor does clicking on the affiliate links cost you anything, in fact, you may save some money.
Well, the Black Friday and Cyber Monday deals are done for 2023. And I hope some of you got in on those offers. I saved several hundred on my purchases for the year.
These vendors are still making the following offers.
Use the Skylum coupon code of MARKDODD for possible additional discounts
Disclaimer: I may affiliate with a product mentioned on this page. As a result, I may receive some compensation from the vendor. This affiliation does not influence any of my commentary on any product that I may write about, nor does clicking on the affiliate links cost you anything, in fact, you may save some money.
Disclaimer: I may affiliate with a product mentioned on this page. As a result, I may receive some compensation from the vendor. This affiliation does not influence any of my commentary on any product that I may write about, nor does clicking on the affiliate links cost you anything, in fact, you may save some money.
Not only are they releasing the next update, but they are running one of their best sales ever this summer.
Here is the summer special offer pricing and the special gift you will get along with your purchase.
Luminar Neo Explore year subscription for $59 + Creative Travel Pack as a gift
Luminar Neo Pro year subscription for $79 + Creative Travel Pack as a gift
Luminar Neo Lifetime for $99 + Creative Travel Pack as a gift
Extension pack for $149
Affiliates like me have been given a special 10% off coupon code for this summer special so be sure to use the Luminar Neo discount code
AFS-5k66bP
at check out to get your extra 10% off.
Now what’s in the 1.10 update
Improvements in Extensions
They have made major changes to the Upscale AI extension to improve its performance. I’ve seen a few samples and can’t wait to try it out.
The extensions can now collapse individual Extensions panels in the Catalog view so you just see the list of titles for each so the view is not so cluttered. You expand just the extension you want to view its options
Interface changes for Noiseless AI, Supersharp AI, and Magic Light AI
Added support for additional cameras
You can now learn more about each tool by clicking its “i button”
You are now able to purchase Luminar Marketplace items directly from within Luminar. No more going from Luminar Neo to the website, and back
Many speed improvements in the various tool and Luminar Neo overall.
And of course many bug fixes for both the Mac and Windows Versions.
I’ll be downloading the update as soon as it is released on June 1st at 11 am EDT.
I’m a little late to the show on this announcement, but we finally know Skylum’s plans for Aurora HDR. They are just adding HDR to Luminar Neo instead of updating Aurora HDR.
For the HDR they are adding it to Luminar Neo as their first extension option for Luminar Neo. It is not part of the main program, but an add-on that you purchase separately. This is in line with their plans to make Luminar Neo modular. This is the first step in that process.
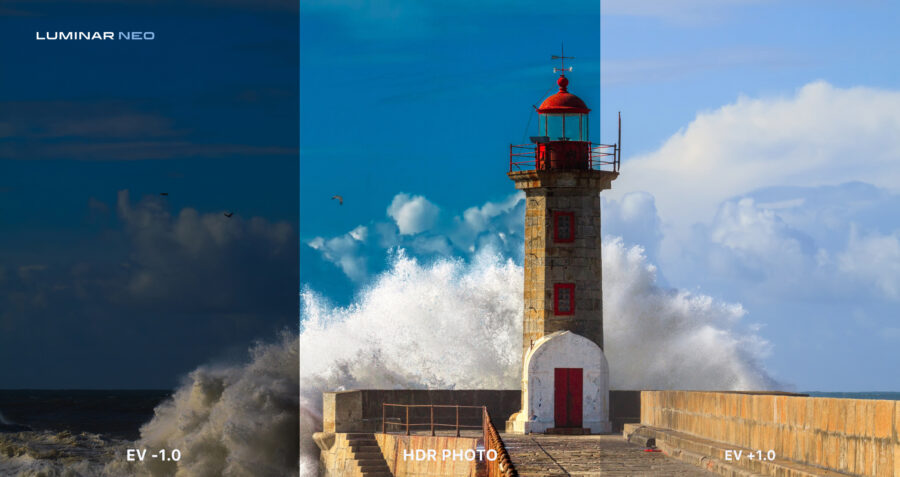
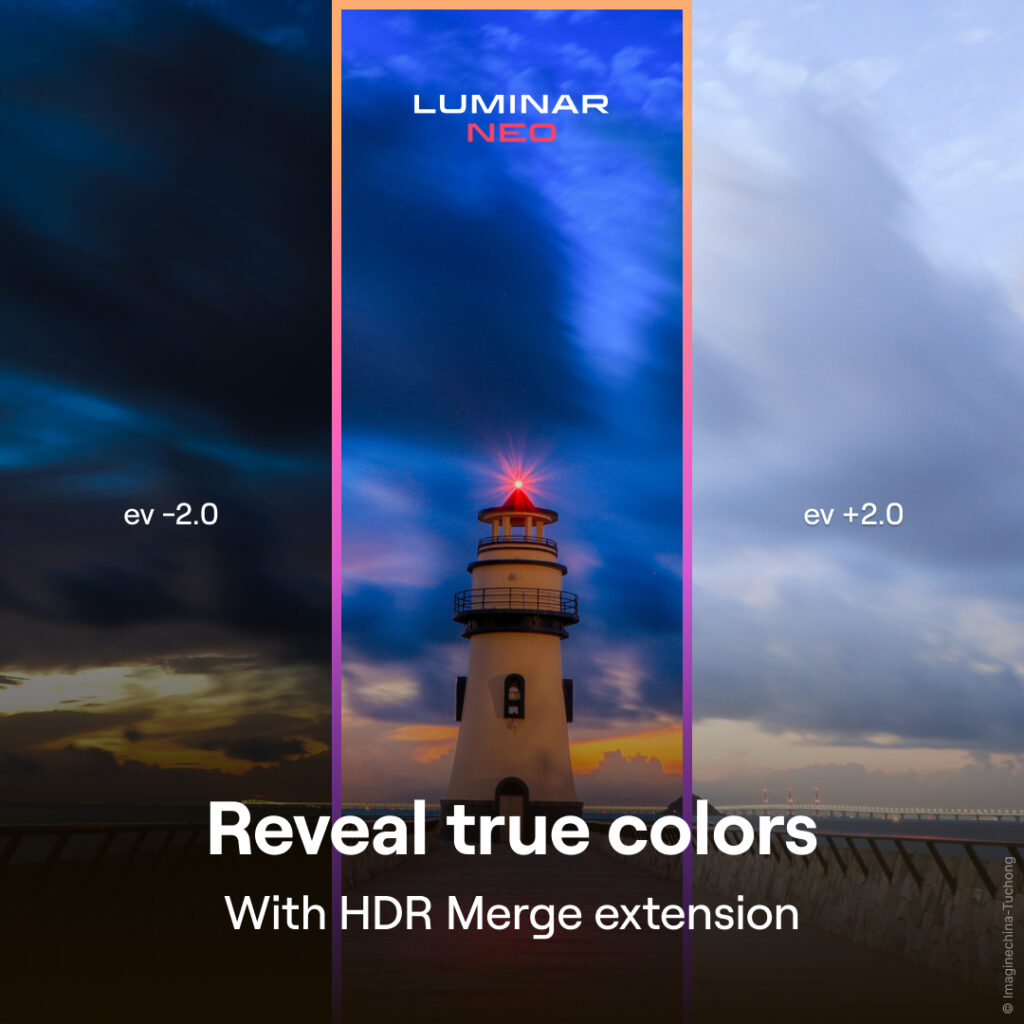
The new extension will let you merge up to 10 exposure-bracketed images into a single HDR photo. Once your image has been merged you can then do your adjustments with the Luminar Neo tools. It gives you the same merging features you have come to expect from Aurora HDR in that it does Auto-alignment and removal of ghost objects in the image.
As before in Aurora HDR, you don’t have to use brackets, it also works on a single image.
Some good news for Luminar Neo itself though, they are adding a new feature of Dodge & Burn has been added.
Some other updates are
● Add Tools to Favorites with visible animation on macOS ● Rotate & Flip any photo from the Catalog ● New interface for the EXIF panel ● New interface for the catalog header ● Export 8-bit and 16-bit PNG images ● Improved Spanish localization and of course, they fixed another list of bugs.
Pricing
HDR Merge will be free for subscription users and owners of Aurora HDR 2019. It will cost $49.99 for lifetime license owners of Luminar Neo.
So in short, If you have Luminar Neo and Aurora HDR 2019, this extension is free, if you only have Aurora HDR 2019, then you will need to purchase Luminar Neo in order to use the extension.
If you have earlier versions of Aurora HDR, this will offer you a discount on the HDR Extension price. Make sure you are logged into your Skylum account to see the possible discounts.
For a limited time, you can also get the HDR Mega Pack for free
Starting July 1st, I’m now able to offer my readers a new Capture One discount of 10% of Capture One products.
To get the discount use the Capture One Discount code of
DODD10
to get 10% of your purchase of Capture One Products
Disclaimer: I may affiliate with a product mentioned on this page. As a result, I may receive some compensation from the vendor. This affiliation does not influence any of my commentary on any product that I may write about, nor does clicking on the affiliate links cost you anything, in fact, you may save some money.